
Setting Up an AI Client
ATLAS.ti includes a built-in MCP server that runs locally on your computer. To use the MCP integration, you enable this server in ATLAS.ti and then connect an MCP client to it. There are two ways to connect a client:
- Using the MCP bundle – the simplest method, with a one-click install. This is currently supported by Claude Desktop.
- Using a manual HTTP configuration – works with any MCP client that can connect to an HTTP server. The steps below use Claude Code as an example, but the same configuration applies to other HTTP-capable clients.
ATLAS.ti works with a range of MCP clients – see Tested AI Clients. For any client not described here, use the HTTP configuration below and refer to that client's own documentation for how to add an MCP server.
Enable the MCP server
Whichever connection method you use, first enable the MCP server in ATLAS.ti.
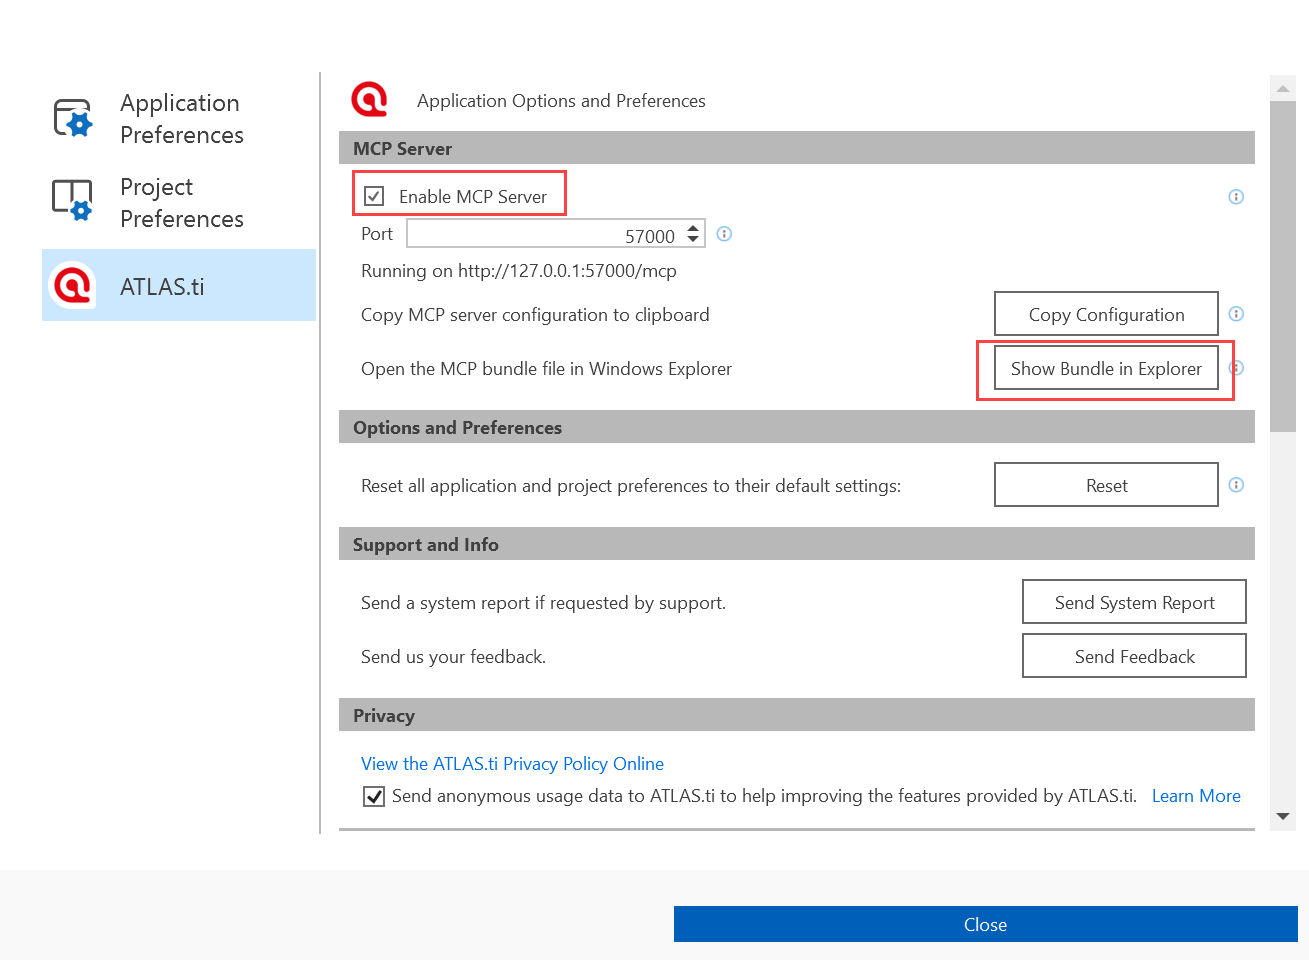
In ATLAS.ti, go to File > Options > ATLAS.ti and enable the MCP server option.
Using the MCP Bundle (Claude Desktop)
The MCP bundle (a .mcpb file) is the easiest way to connect. Claude Desktop can install this bundle directly, so no manual configuration is needed. This bundle method is currently specific to Claude Desktop; for other clients, see Using a manual HTTP configuration below.
With the MCP server enabled, click Show Bundle in Explorer on the same File > Options > ATLAS.ti page.
Copy the bundle file to the C: drive.
Launch Claude and go to File > Settings > Extensions > Advanced Settings > Install Extension. Navigate to the C: drive, select the .mcpb file, and click Install. If you are prompted to confirm, click Install to complete the installation.
If you already had installed an older version of the MCP bundle, do the following in Claude: Go to File > Settings > Extensions > Advanced Settings > Install Extension, click Uninstall and then click Install to install the new version.
Once the setup is complete, launch ATLAS.ti and enter a prompt in your client to list all your ATLAS.ti projects. The client should list all your projects.
Using a manual HTTP configuration
The ATLAS.ti MCP server also exposes a local HTTP endpoint, so any MCP client that can connect to an HTTP server can use it. In general, connecting another client involves: enabling the MCP server in ATLAS.ti (it is disabled by default – see Enable the MCP server above), installing and configuring your MCP-compatible AI client, configuring it to connect to the ATLAS.ti MCP server using the configuration below, and finally opening an ATLAS.ti project and interacting with it through the client.
The steps below use Claude Code as a worked example; the same configuration works with other HTTP-capable clients (for example, OpenAI Codex, Goose, or the Gemini CLI). Refer to your client's documentation for where to add an MCP server.
Step 1: Copy the MCP server configuration from ATLAS.ti
In ATLAS.ti, go to File > Options > ATLAS.ti and click Copy Configuration.
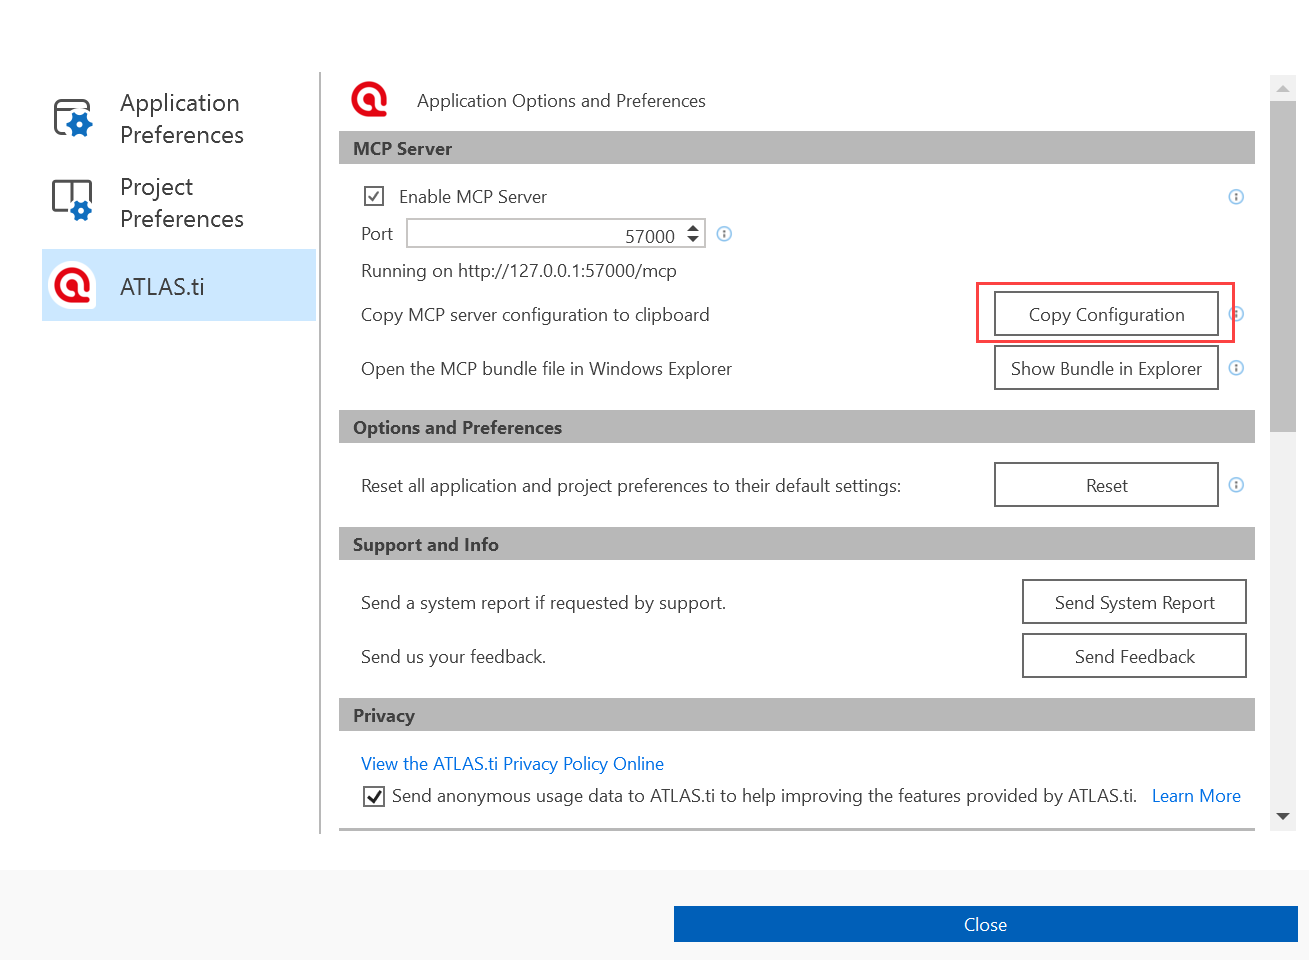
Keep the configuration details somewhere handy (for example, a text editor), as you will need them in the next step. Here is an example configuration:
{
  "mcpServers": {
    "ATLAS.ti": {
      "headers": {
        "Authorization": "Bearer YFNqUs+T2o5ZZljQsTYrTF6eAhgzj6NQVG0Kf0IZwXg="
      },
      "type": "http",
      "url": "http://127.0.0.1:57000/mcp"
    }
  }
}
Step 2: Add the configuration to your client
Each client has its own way to register an MCP server. Use the configuration from Step 1 and follow your client's documentation.
For Claude Code, which you can use as a stand-in for other HTTP clients:
If you do not have Claude Code yet, install it by following the Quickstart.
Add the ATLAS.ti MCP server by following the Connect to MCP servers instructions.